
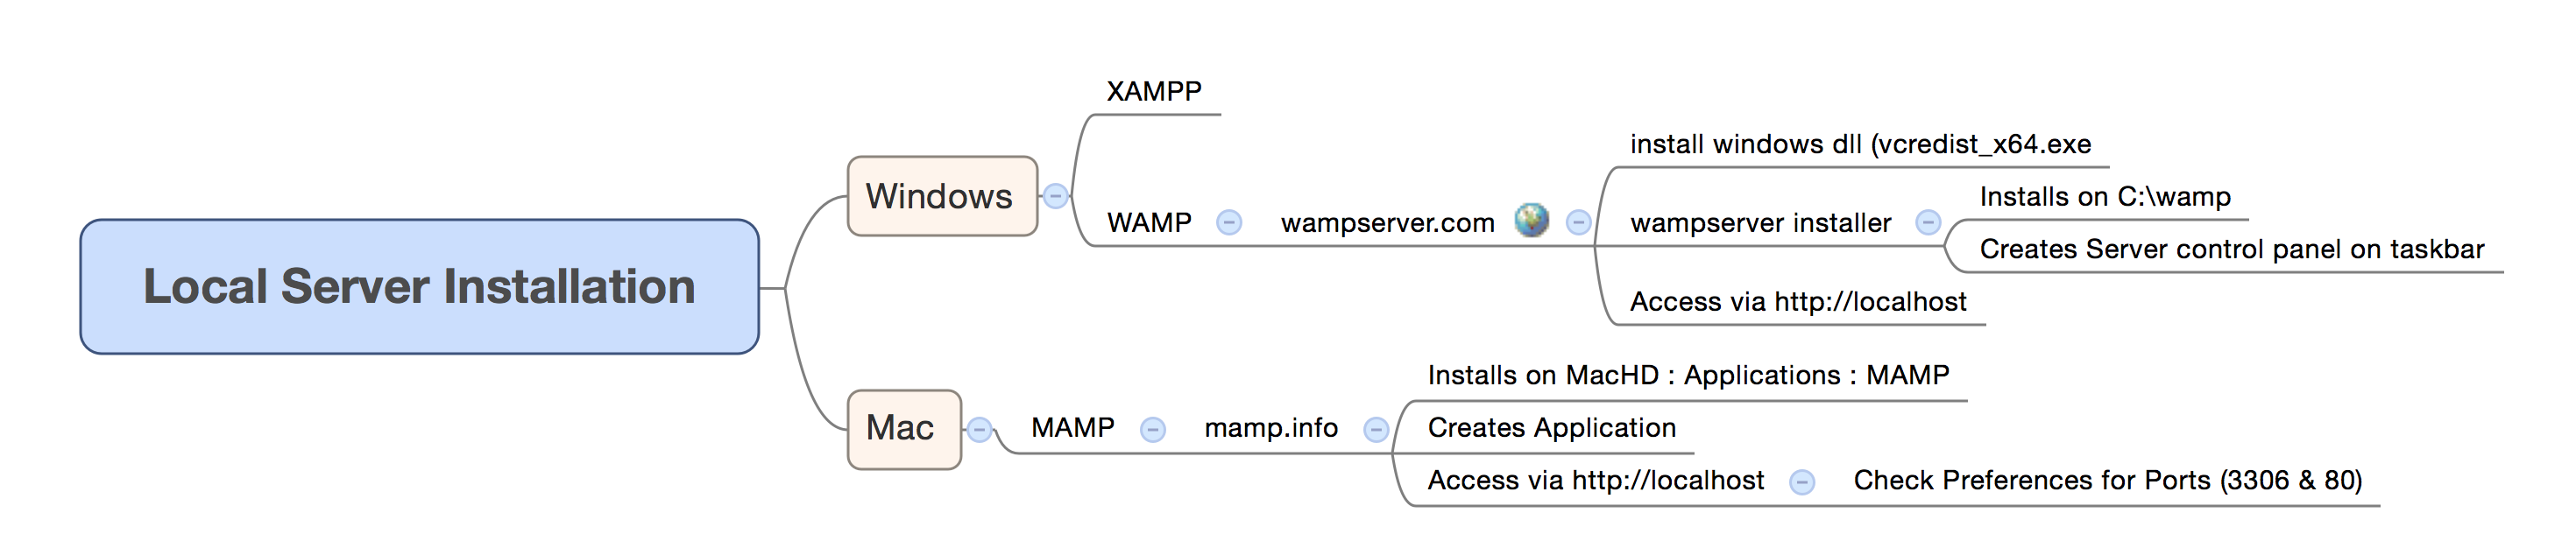
Local Server Installation on Mac and Windows
Hi folks. As promised, here’s the first in a series of tips and tricks. This one is about how to go about a local server installation. On Mac or Windows.
Why would you want to do this? Here are some scenarios:
- You’re creating a brand new website and want to make sure it works properly before you commit to uploading to a live server.
- You’re about to do an upgrade to an existing website but want to make sure all the core systems, content-management-system, plugins etc play nice together.
- You want to make a local backup of an existing website.
- You might be setting up a server for your Local Area Network to be used as an intranet.
- There’s many other reasons…
What’s required for a Local Server Installation?
- First of all you’ll need administrator access to your machine – you’ll be installing software so you’ll need permission to do so.
- Next, you’ll need to download a server platform that’s appropriate for your operating system and install it.
- Then you’ll access a server control panel to administer your local server installation.
I’ll give you the specific instructions on a per-operating-system basis.
Local Server Installation on a Windows operating system.
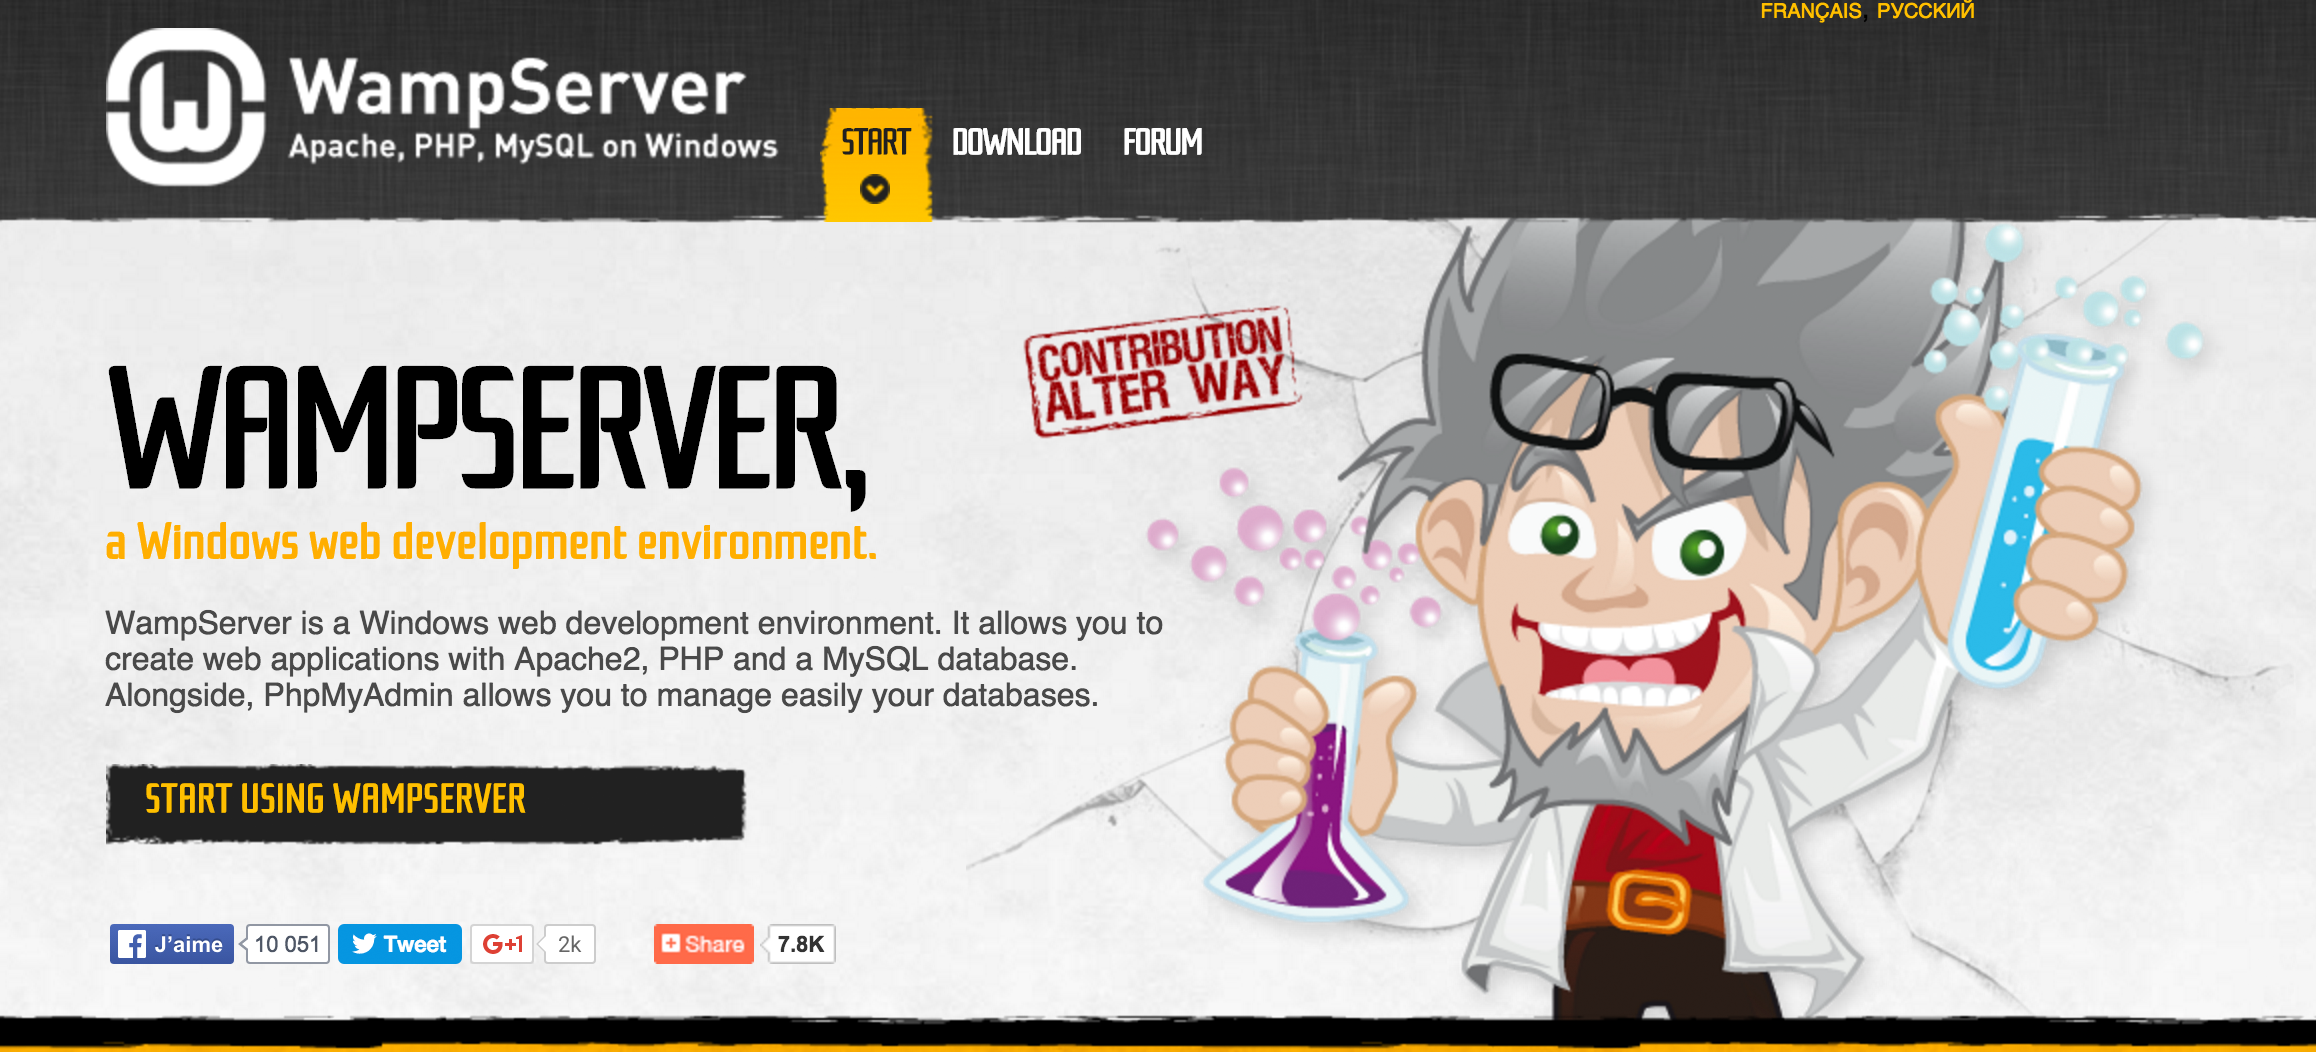
As you might imagine, there are plenty of options available to you, and I’m just going to choose one – a WAMP server installation on a Windows 64 bit system. Don’t worry – I’ll give you links to other options at the end of this article.
So here are the steps to do a local server installation of WAMP on your Windows operating system:

Browse to the WAMP server homepage at http://www.wampserver.com/en/. Note that the page may be in French or Polish – just click the link at the top of the page to translate.
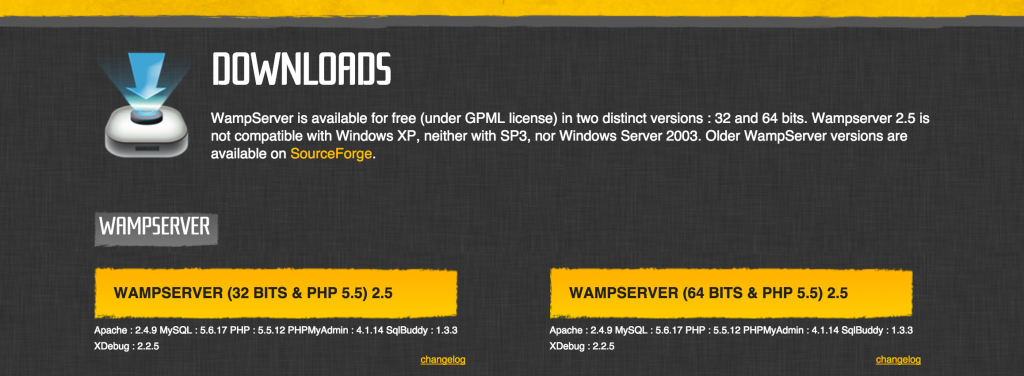
Scroll down to the Downloads section on the page.
Note the following:
WampServer is available for free (under GPML license) in two versions : 32 and 64 bits.
Wampserver 2.5 is not compatible with Windows XP, neither with SP3, nor Windows Server 2003.
Older WampServer versions are available on SourceForge.
Click the appropriate download for your system. (32 or 64 bit)
Read the warnings on the install page. Particularly the one that talk about previous versions.
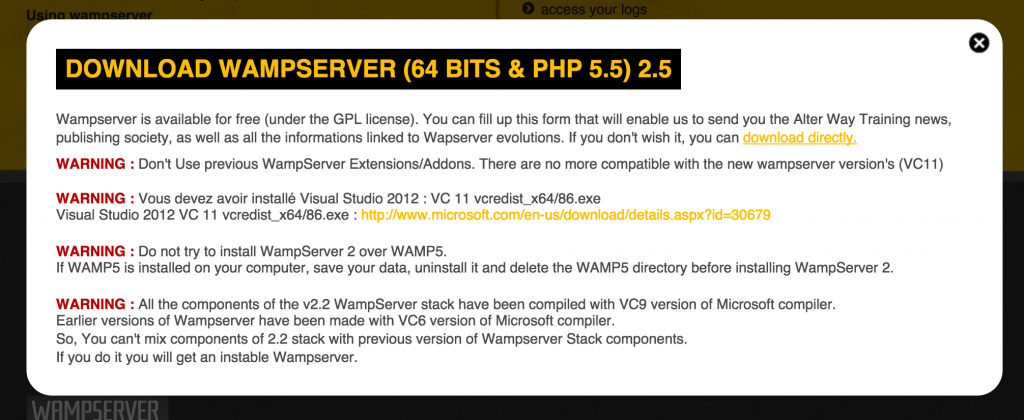
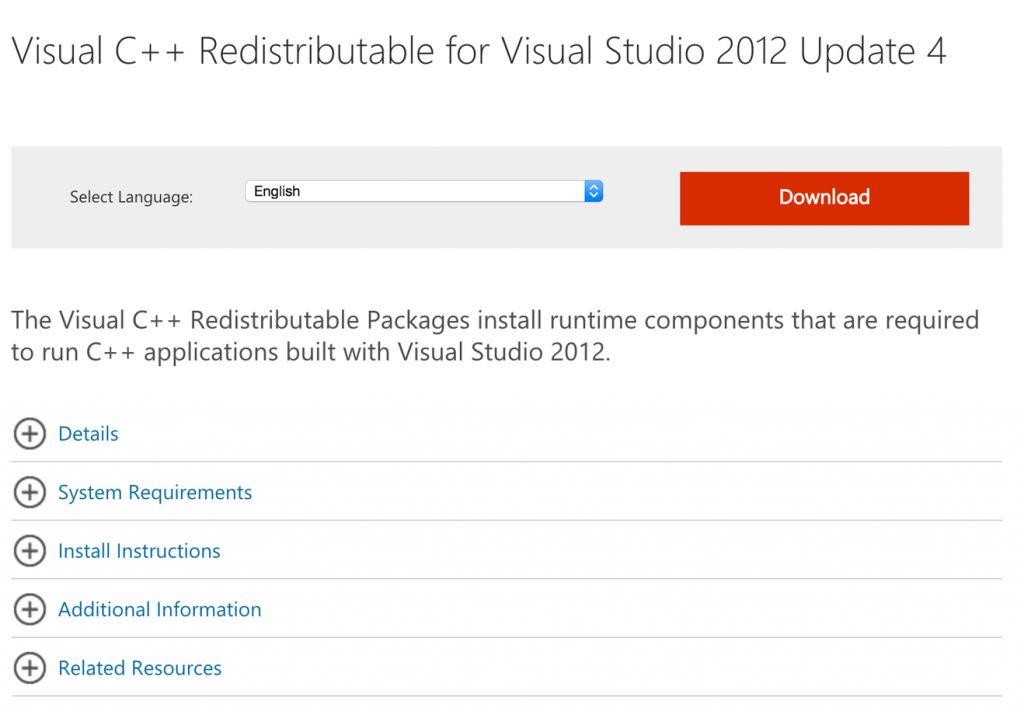
Download and install the Microsoft Visual Studio DLL (click the link on the WAMP server install page)
Some versions of Windows (particularly 64 bit systems) will require you to have installed the Microsoft Visual Studio DLL found at http://www.microsoft.com/en-us/download/details.aspx?id=30679
Download the VSU_4\vcredist_x64.exe file.
Double-click the downloaded file and follow the installation prompts.

Windows users:
Sometimes, depending on your operating system setup, you’ll need to disable SQLServer Reporting services. Do this by opening Services (search field in your task bar). Double click and disable the service.
Now go back to the WAMP server install page and click the link to Source Forge that reads ‘download directly‘. I’ve included the link here to make it easier for you. Download should start automatically.
Ensuring that you have previously an properly installed the Microsoft Visual Studio hook from step 5, double click the wampserver installation .exe file you downloaded in step 6.
You’ll be asked to install the software in a default directory – C:/wamp. You don’t have to install it here but that’s the default location.
Next, you’ll be asked to choose a default browser that will be engaged each time you hit the Server Control Panel. I always use Chrome, but you can choose your favourite by finding it in the Program folder. (Chrome is in Programmes x86 / Google / Chrome / Application)
Eventually, you’ll be asked to allow Apache permission to access your system – please make sure you do (I’ll explain more about this later).
And finally you can allow the installation to make shortcuts in various locations. I always enable this.
Local Server Installation on a Macintosh Operating System.
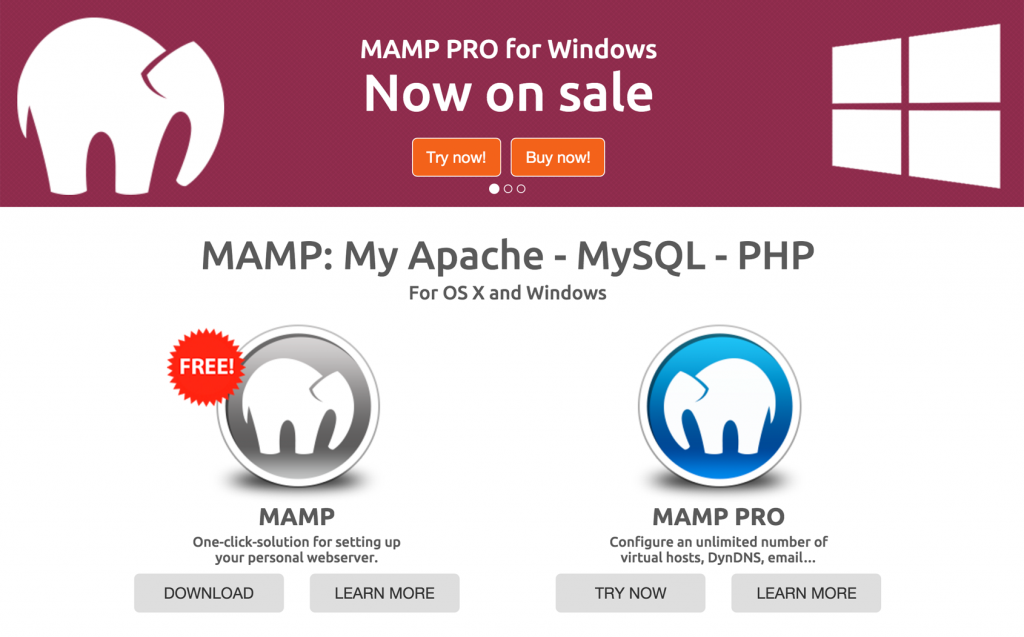
Once again, there are plenty of alternatives, but I always use a MAMP on my Macintosh systems.
Here are the steps:
- Download MAMP (not MAMP pro) from http://mamp.info
- Double-click on the downloaded file and open the installer. Follow the prompts. It will install in the mac Applications folder. You don’t need to use MAMP PRO, just the regular version.
Apache & MySQL Ports
The default installation of MAMP uses 8888 as the default port for Apache and 8889 for MySQL.
That means that you’d have to browse to http://localhost:8888 to view your content.
It’s far more convenient to browse to just http://localhost without the port number.
So open your MAMP app and choose Preferences, then click the Ports Tab and then the ‘Set Web & MySQL ports to 80 & 3306′.


Local Server Installation – a MindMap.
Here’s a mindmap (created in XMind) to help you work out the logic.
 | © 2014 John Ryan Design | All Rights Reserved | 100 percent Australian |